
Guides
Home Workshops: How to Plan Space, Power, Dust and Safety
How to plan home workshops: pick a space for its limits, get power, light and dust control right before benches go in, and train on the dangerous machines.
What to take away
- Write the project list first. The work you actually intend to do sets the tool list, and not the other way around.
- Power, light and air handling are the parts of a shop that are painful to retrofit once benches and cabinets are in place.
- Stationary machines are the real hazard in a home shop. They reward training far more than they reward spending.
- Decide in advance what the space will not do. A shop that fails honestly at one job beats one that fails quietly at five.
A home workshop is a room with a job, not a collection of purchases. The useful first question is what you want to finish in the next twelve months. Three cutting boards and a bookcase point at one kit. Bike repair and small electronics point at a different one.
Pick the space for its constraints
Judge a candidate space by what it cannot change. Ceiling height sets how long a board you can stand upright. Door width sets what can come out finished. A shared garage means the car returns every evening, so anything heavy needs wheels. An unheated space means glue cures slowly in winter and steel tools rust in humid months.
Measure three things before anything else: the longest piece of stock you expect to handle, the clear floor you can give a machine on every side while feeding it, and the distance from your electrical panel to the far wall.
Plan power and light early
Most home shops fail first on electricity. Portable tools draw hard at startup, and one circuit ends up feeding a dust collector, a saw and a heater at once. Where the panel can spare them, give the dust collector and any stationary machine their own dedicated circuits; an extension cord is a stopgap, never a supply.
Read the Consumer Product Safety Commission's guidance on extension cords at home before you run one under a bench mat or through a doorway, where cords get crushed and overheat.
Treat added circuits, outlet placement and permanent lighting as one job done by a qualified electrician, before the benches go in. In the United States, that work falls under NFPA 70, the National Electrical Code, which requires GFCI protection on garage receptacles; your local building department issues the electrical permit and inspects the result. Layered light beats one bright fixture: general overhead, a task light at the bench, and a movable lamp for anything you are sighting along.
Plan for dust and fumes from day one
Wood dust is more than mess. It is a respiratory hazard that OSHA regulates as an occupational exposure in workplaces, and hardwood dust has been studied for links to nasal cancer.
Capture dust at the source: a canister or HEPA filter keeps fine dust out of the air, and a cyclone or two-stage separator keeps that filter from clogging. Sweep instead of blowing the shop clean, and open the space when finishing. Solvent finishes and strippers add vapor risks that a doorway box fan will not solve alone, and shops that collect wood dust in volume follow NFPA 664 for fire and explosion prevention.
Respect the machines that deserve it
Table saws, jointers, planers, shapers and band saws are not a drill and a sander. Lathes join them.
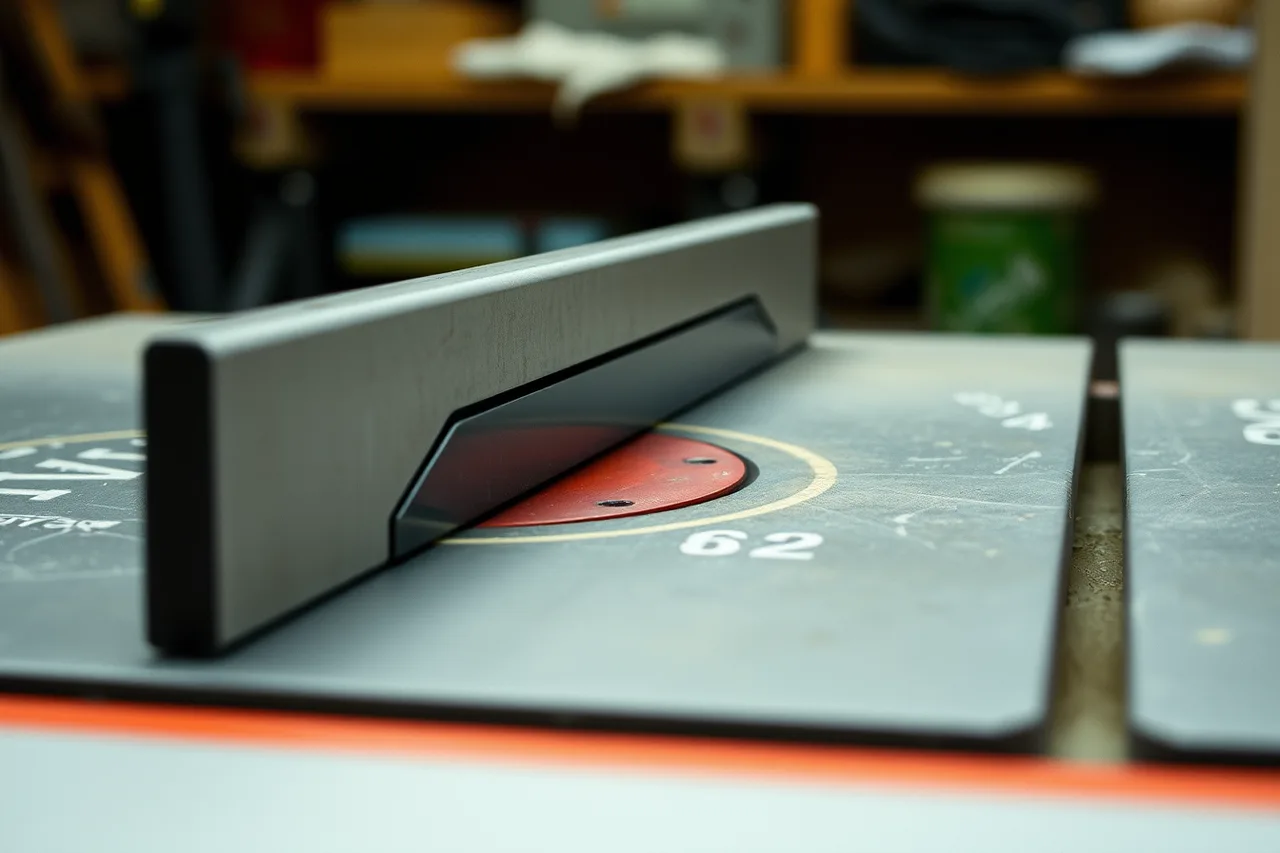
The OSHA woodworking eTool covers guarding, feed direction and kickback, behind most serious injuries on these machines. Those rules apply to workplaces, not a private garage. Treat them as informed practice, not a legal duty you owe.
Three habits carry most of the benefit:
| Habit | Why it pays |
|---|---|
| Guards and riving knife stay fitted | Removes the most common kickback path |
| One setup change at a time | Stops compounding errors nobody can trace |
| Stop before you improvise | Most bad cuts follow a workaround, not a plan |
Table saw discipline comes down to the blade and your hands. Set the blade so the teeth just clear the top of the stock, use a push stick or push block for narrow cuts, and clamp a featherboard to hold the stock against the fence when ripping. Match the blade to the cut — a rip blade for ripping, a crosscut blade for crosscuts — instead of forcing one blade through everything. On the jointer, keep your hands behind the cutterhead and use push blocks on short stock; on the band saw, set the guard to the height of the work.
If a machine frightens you, that instinct is information. Take a class or work beside someone experienced before you use it alone. Our common beginner errors piece covers what shows up in the first year.
Buy in the order the work demands
Buy for a project, use the tool, then buy whatever the next project genuinely needs. That order builds skill alongside the kit. A detailed sequence lives in our beginner tool kit guide.
Common questions
How much space does a usable shop need?
Should I build a bench or buy one?
Is a dust mask enough?
What should I not do alone at first?
In this guide
- Home workshop tips: lessons working makers wish they'd known soonerThe lessons that repeat in home workshops: order of spending, hazards found late, buying used tools well, and knowing when a room has outgrown you.
- Building a first home workshop kit in the order projects needA first home workshop tool kit built by category rather than brand: measuring, cutting, holding, fastening and protection, in the order projects need.
- Home workshops materials: movement, fit and safetyHome workshops materials guide: compare wood movement, sheet goods, glue and fastener fit, finish families, and practical dust and SDS safety for a home shop.
- Home workshop mistakes: blocked floors and overloaded circuitsThe errors that repeat in first home workshops: blocked floors, overloaded circuits, cleaning with compressed air, and machines used without training.
- Comparing home workshop work surfaces: tops, boxes and sacrificial sheetsComparing home workshop work surfaces: solid tops, torsion boxes, sacrificial sheets and assembly tables, plus height, mass and anchoring decisions.