Reviews
Part of Home Workshops: How to Plan Space, Power, Dust and Safety
Building a first home workshop kit in the order projects need
A first home workshop tool kit built by category rather than brand: measuring, cutting, holding, fastening and protection, in the order projects need.
What to take away
- Buy by category, not by brand. The category tells you what job is missing; the brand only tells you who made it.
- Measuring and holding come before cutting. Most beginner frustration is a workpiece that moved, not a tool that failed.
- Guards, cords and handles are the parts to inspect on any tool, new or used, before the first cut.
- One battery platform is enough for years. Splitting across platforms doubles your charger clutter for no gain.
We name no models here. We have not tested tools side by side, we hold no measurements of our own, and no honest guide can tell you that one specific machine is safer than another without that data. What follows are categories, selection criteria and the sequence that tends to waste the least money.
Start with measuring and marking
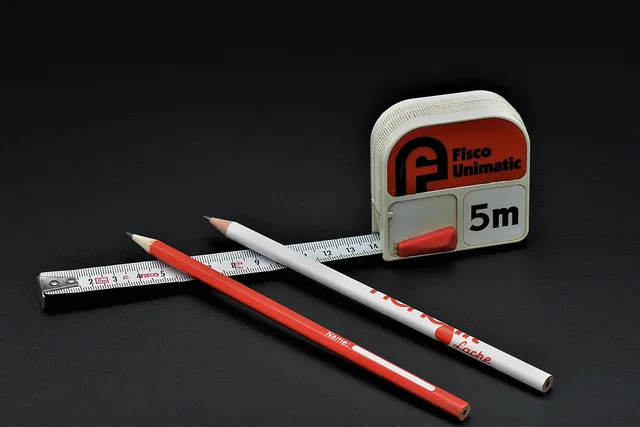
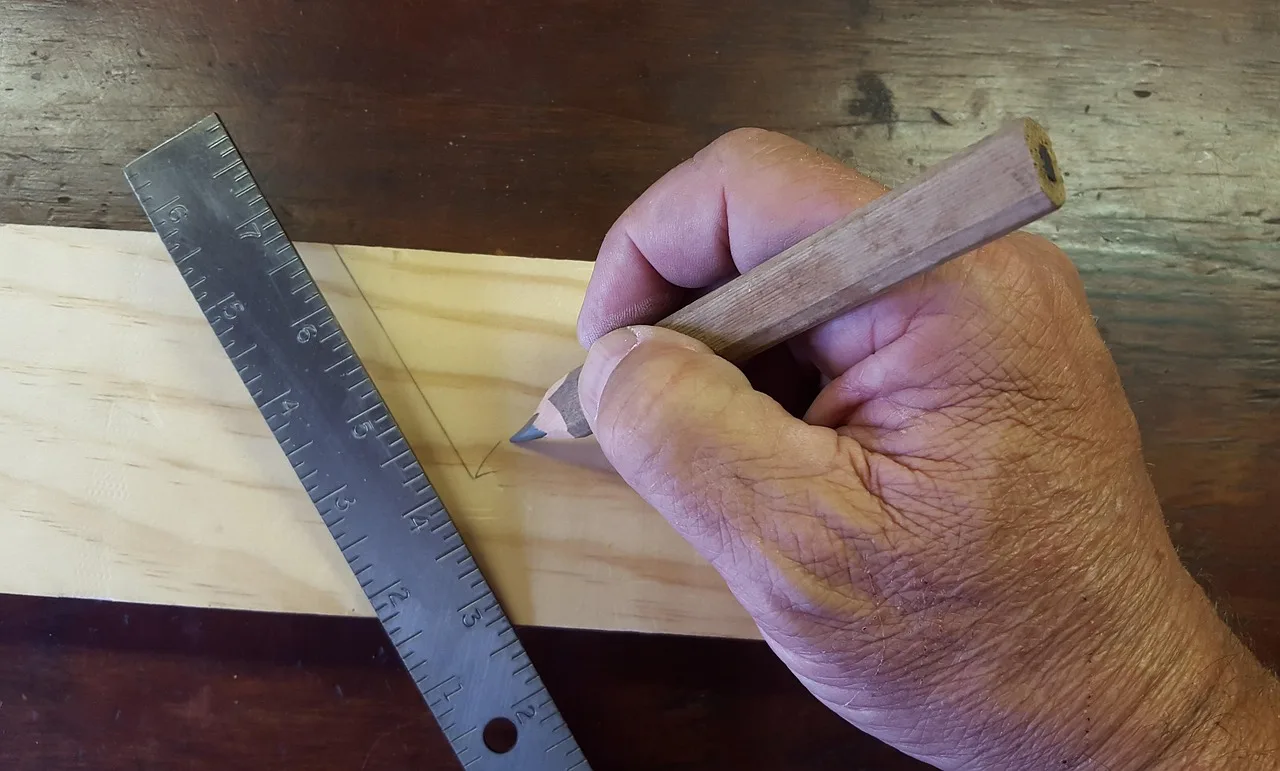
Nothing downstream works if the layout is wrong. A usable starter set is small:
- A quality tape and a steel rule that agree with each other.
- One combination square you trust, checked for square against a known straight edge.
- A marking knife or a sharp pencil, plus a marking gauge if you are cutting joints.
- A long straightedge, which doubles as a saw guide and a flatness check.
Buy one good square rather than three cheap ones. Every later cut references it.
Then holding and clamping
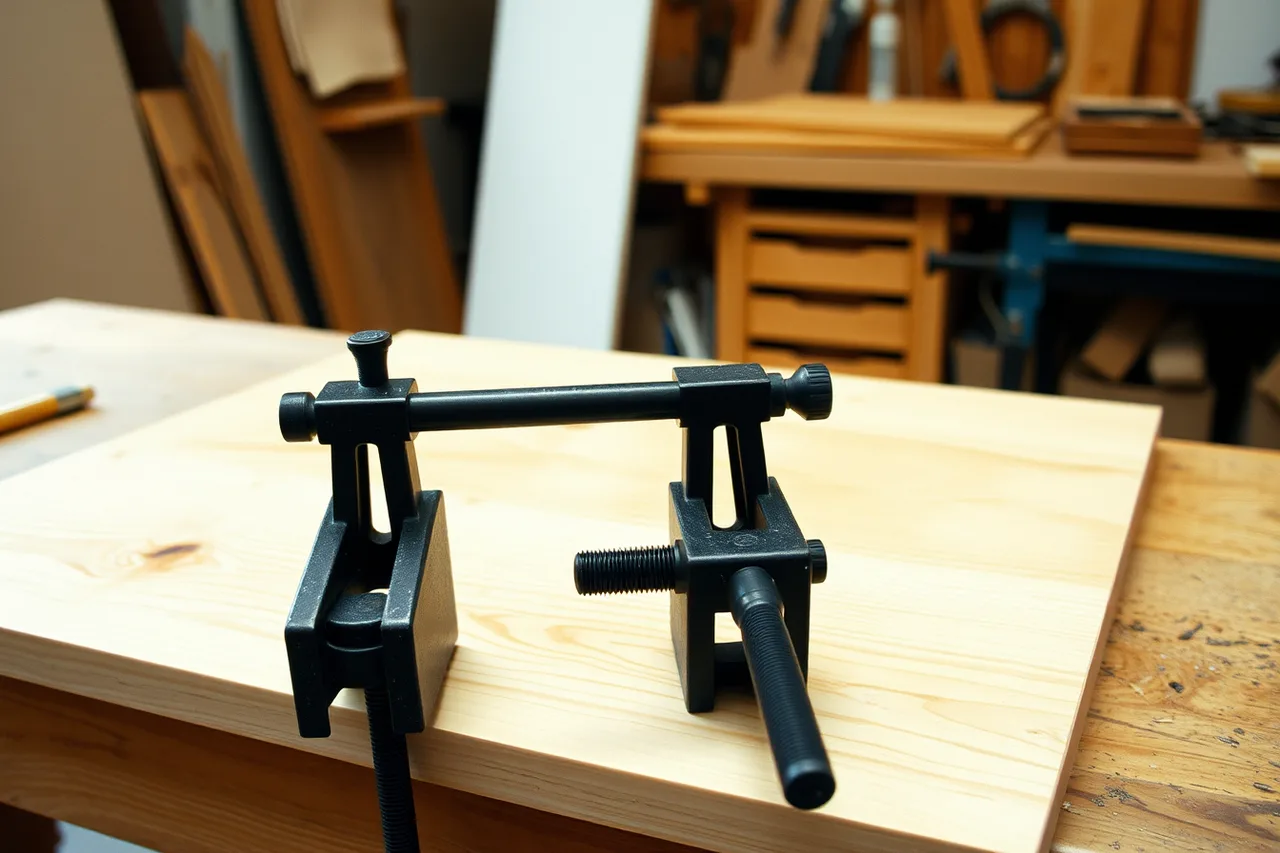
Beginners under-buy clamps and over-buy cutting tools. A workpiece that shifts mid-cut is the source of most ruined stock and a fair share of injuries. Aim for a mixed set: two long bar clamps for panels, four medium clamps for general work, and a vise or bench dogs on your work surface. Add more as glue-ups get bigger.
Cutting tools, in the order projects ask for them
| Stage | Tool category | What it unlocks |
|---|---|---|
| First | Hand saw and sharp chisels | Joinery practice with no setup cost |
| Second | Circular saw with a straightedge | Breaking down sheet goods safely |
| Third | Cordless drill and driver | Assembly, pilot holes, repairs |
| Fourth | Random orbit sander | Finish preparation without hand fatigue |
| Later | A stationary machine you have been trained on | Repeatable cuts, more capability, more risk |
Portable power tools carry guarding requirements at work for good reason. OSHA's rule on guarding portable powered tools covers the retracting lower guard on a circular saw and constant-pressure switches on grinders.
Those rules bind employers, not a private garage. But a tool with a defeated guard is the same tool wherever it sits.
Inspect before you cut
Hand tools are the category people assume cannot hurt them. The federal construction rule on hand tool condition is short and practical: no cracked or loose handles, no mushroomed heads on struck tools, no wrenches with sprung jaws.
Apply the same three checks at home. A hammer head flying off a dried handle does not care you were only hanging a shelf.
For power tools, look at the cord where it leaves the housing, the switch action, and whether the guard returns on its own. Any of those failing is a repair before it is a project.
Protection is part of the kit
Eye protection, hearing protection and a fitted respirator belong on the same shopping list as the drill, not on a later one. Comfort matters more than specification here, because the pair you find tolerable is the pair you will wear.
Which materials you buy first shapes the kit too, and our guide to picking stock and fasteners covers that side. For the wider setup order, see our home workshop starting point.