Guides
Part of Maker tool systems compared: price is the wrong place to start
Can a weekend really get a maker tool system under control?
Two days to organize a maker tool system: inventory it, set up charging properly, practice rail cuts, sort what is flammable, and label everything once.
What to take away
- Start by finding out what you actually own. Most people are wrong about their own tool inventory by a surprising margin.
- Give charging a permanent, deliberate home rather than whichever outlet is free.
- Spend Sunday morning on rail technique. Repeatable straight cuts are the skill the whole system rests on.
- Finish by checking your fire cover, because a charging bench changes the risk in the room.
Tool systems drift, and cases end up in three places, batteries run flat, and adaptors land in a bag nobody opens.
A weekend resets it, and that reset is worth more than another purchase, because most of what you need is already in the room and cannot be found. Do this once a year and the system stays usable.
Saturday morning: inventory and triage
Empty every case onto a surface and sort into four piles: in use, occasionally used, broken, and orphaned from a system you left.
- Photograph and list what is in the first two piles.
- Repair or dispose of the broken pile rather than reboxing it.
- Sell or give away the orphans. They are storing themselves at your expense.
- Note every missing accessory in one list rather than ordering as you find them.
Saturday afternoon: build the charging station
Charging deserves a permanent place, chosen rather than inherited. Put it on a hard non-combustible surface, in a spot you walk past, away from stored solvent, sawdust and anything that burns easily. Give it its own outlet rather than a strip shared with machines.
While you are at it, take stock of what else in the shop is flammable. The Consumer Product Safety Commission's flammable liquids checklist is a short, practical run through container choice, quantity, ventilation and keeping ignition sources away, and it is a better prompt than trying to remember what is under the bench.
Move anything flammable away from the charging bench before you plug anything in.
Sunday morning: practice rail work
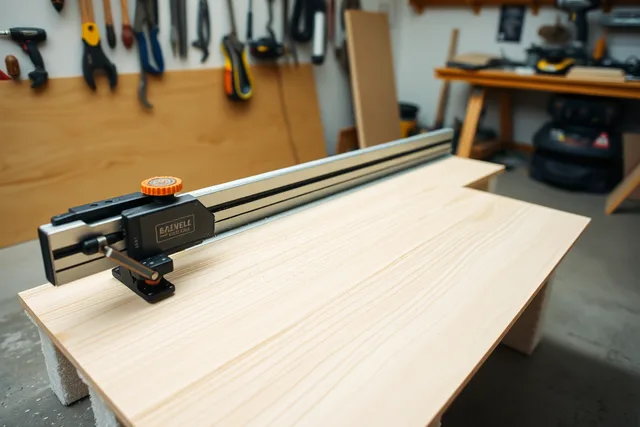
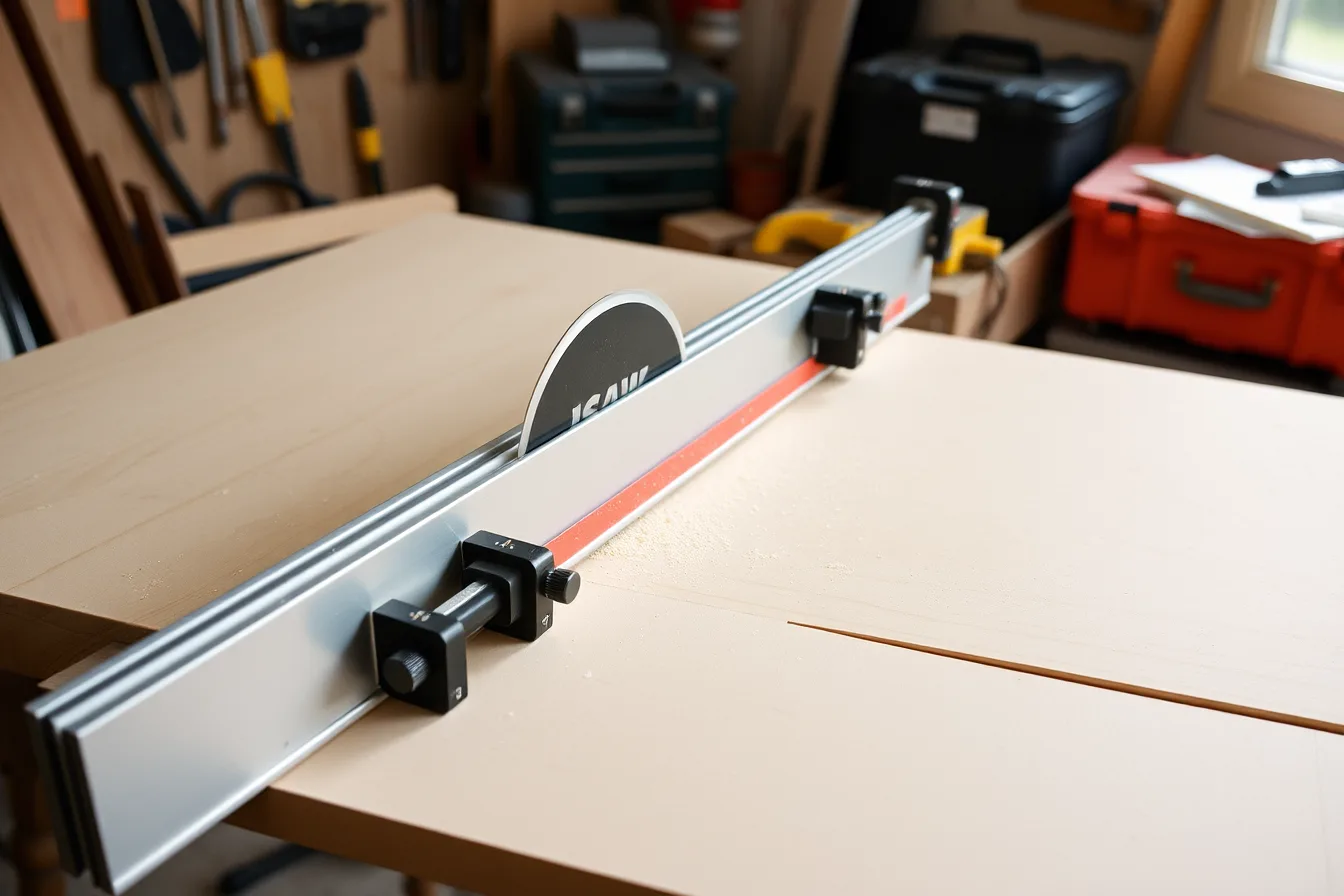
Straight, repeatable cuts are the foundation skill of any track or guide rail system. Set up with cheap sheet material and work through:
- Ten cuts to a marked line, checking each for square at both ends.
- Two rail joins, checking that the join does not introduce a step.
- One cut on thin material, watching for tear-out on the underside.
- One bevel cut, checking the angle on the offcut rather than trusting the scale.
Change one variable at a time. If a cut wanders, look at the rail grip, the support underneath and your feed speed before blaming the saw.
Sunday afternoon: fire cover and labels
A shop with a charging bench, solvent and sawdust needs its fire cover checked rather than assumed. The construction rule on fire protection requires a fire protection program, firefighting equipment that is inspected and maintained, and extinguishers kept accessible and periodically checked.
Employers carry that obligation. At home, the same checklist takes ten minutes: is there an extinguisher, is it rated for what could burn, is it near the exit, and has anyone looked at the gauge this year.
Finish by labeling the cases and the rack, then photograph the result.
Our tool system comparison covers the platform decisions behind all this, and our ventilation weekend plan covers the same approach applied to dust.