Guides
Part of Garage workshop ideas worth the effort, from light to fire cover
How to photograph a garage workshop: fix the light, frame at working height, and say what the picture leaves out
A guide to photographing a garage workshop: fixing mixed light, framing at working height, avoiding unsafe practice in photos and noting what was tidied or cropped.
What to take away
- A garage is a hard room to photographmixed light, low ceilings, a big bright door and dark corners. Fix the light before the framing.
- Photograph the room at working height, not from the doorway. The doorway shot flatters the space and tells the viewer nothing.
- Never publish an image showing a guard removed or protection not worn. People copy what they see far more than what they read.
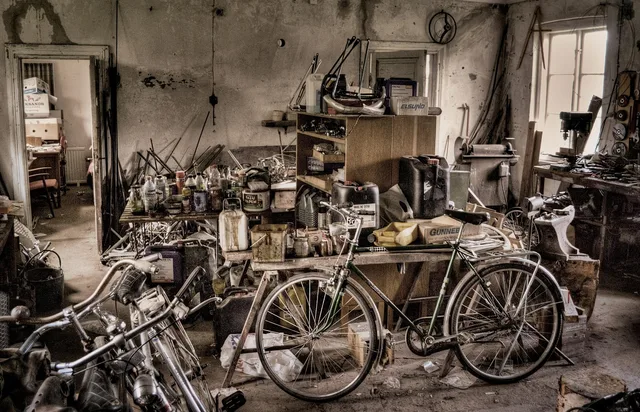
- Say what the photograph leaves out. A tidy shot of a shop that took a day to clear is a fair picture only if you say so.
Shop photographs do two jobs. They record what you built so you can repeat or repair it, and they teach whoever looks at them. The second job is why staging matters more than gear.
Solve the light first
Garages combine a bright open door, weak overhead fixtures and deep shadow along the walls. Shooting into that mix gives blown highlights and muddy corners. Three fixes cover most of it:
- Shut the door and light the room yourself with one dominant source — an LED panel or a work light with a diffuser fitted over it — so one color of light dominates.
- Bounce a light off the ceiling or into a white foam board for fill rather than pointing it straight at the subject.
- Bring a small light in from the side, softened with a diffuser, a shoot-through panel or a white sheet, for anything where surface texture matters, such as a planed face or a finish.
Shoot at a fixed white balance rather than automatic if your camera or phone allows it. Lock it once from a white or gray card under the room light you brought in, or pick the daylight or custom preset that matches those bulbs, and leave it there for the whole session. Where you have manual control, stop the lens down from wide open so the bench and the far wall both stay sharp. Mixed light plus automatic balance is why so many shop photos come out orange in one corner and blue in the other.
Frame at working height
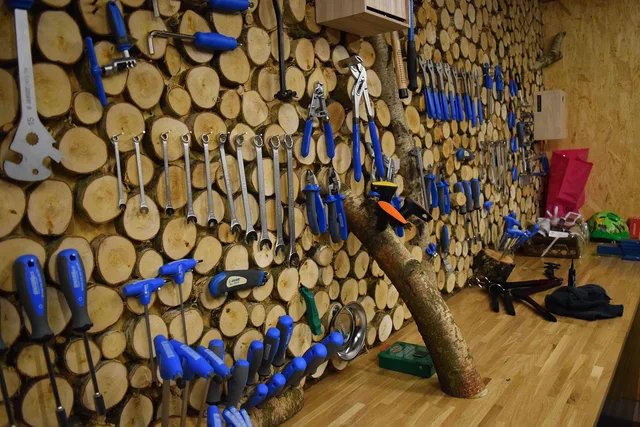
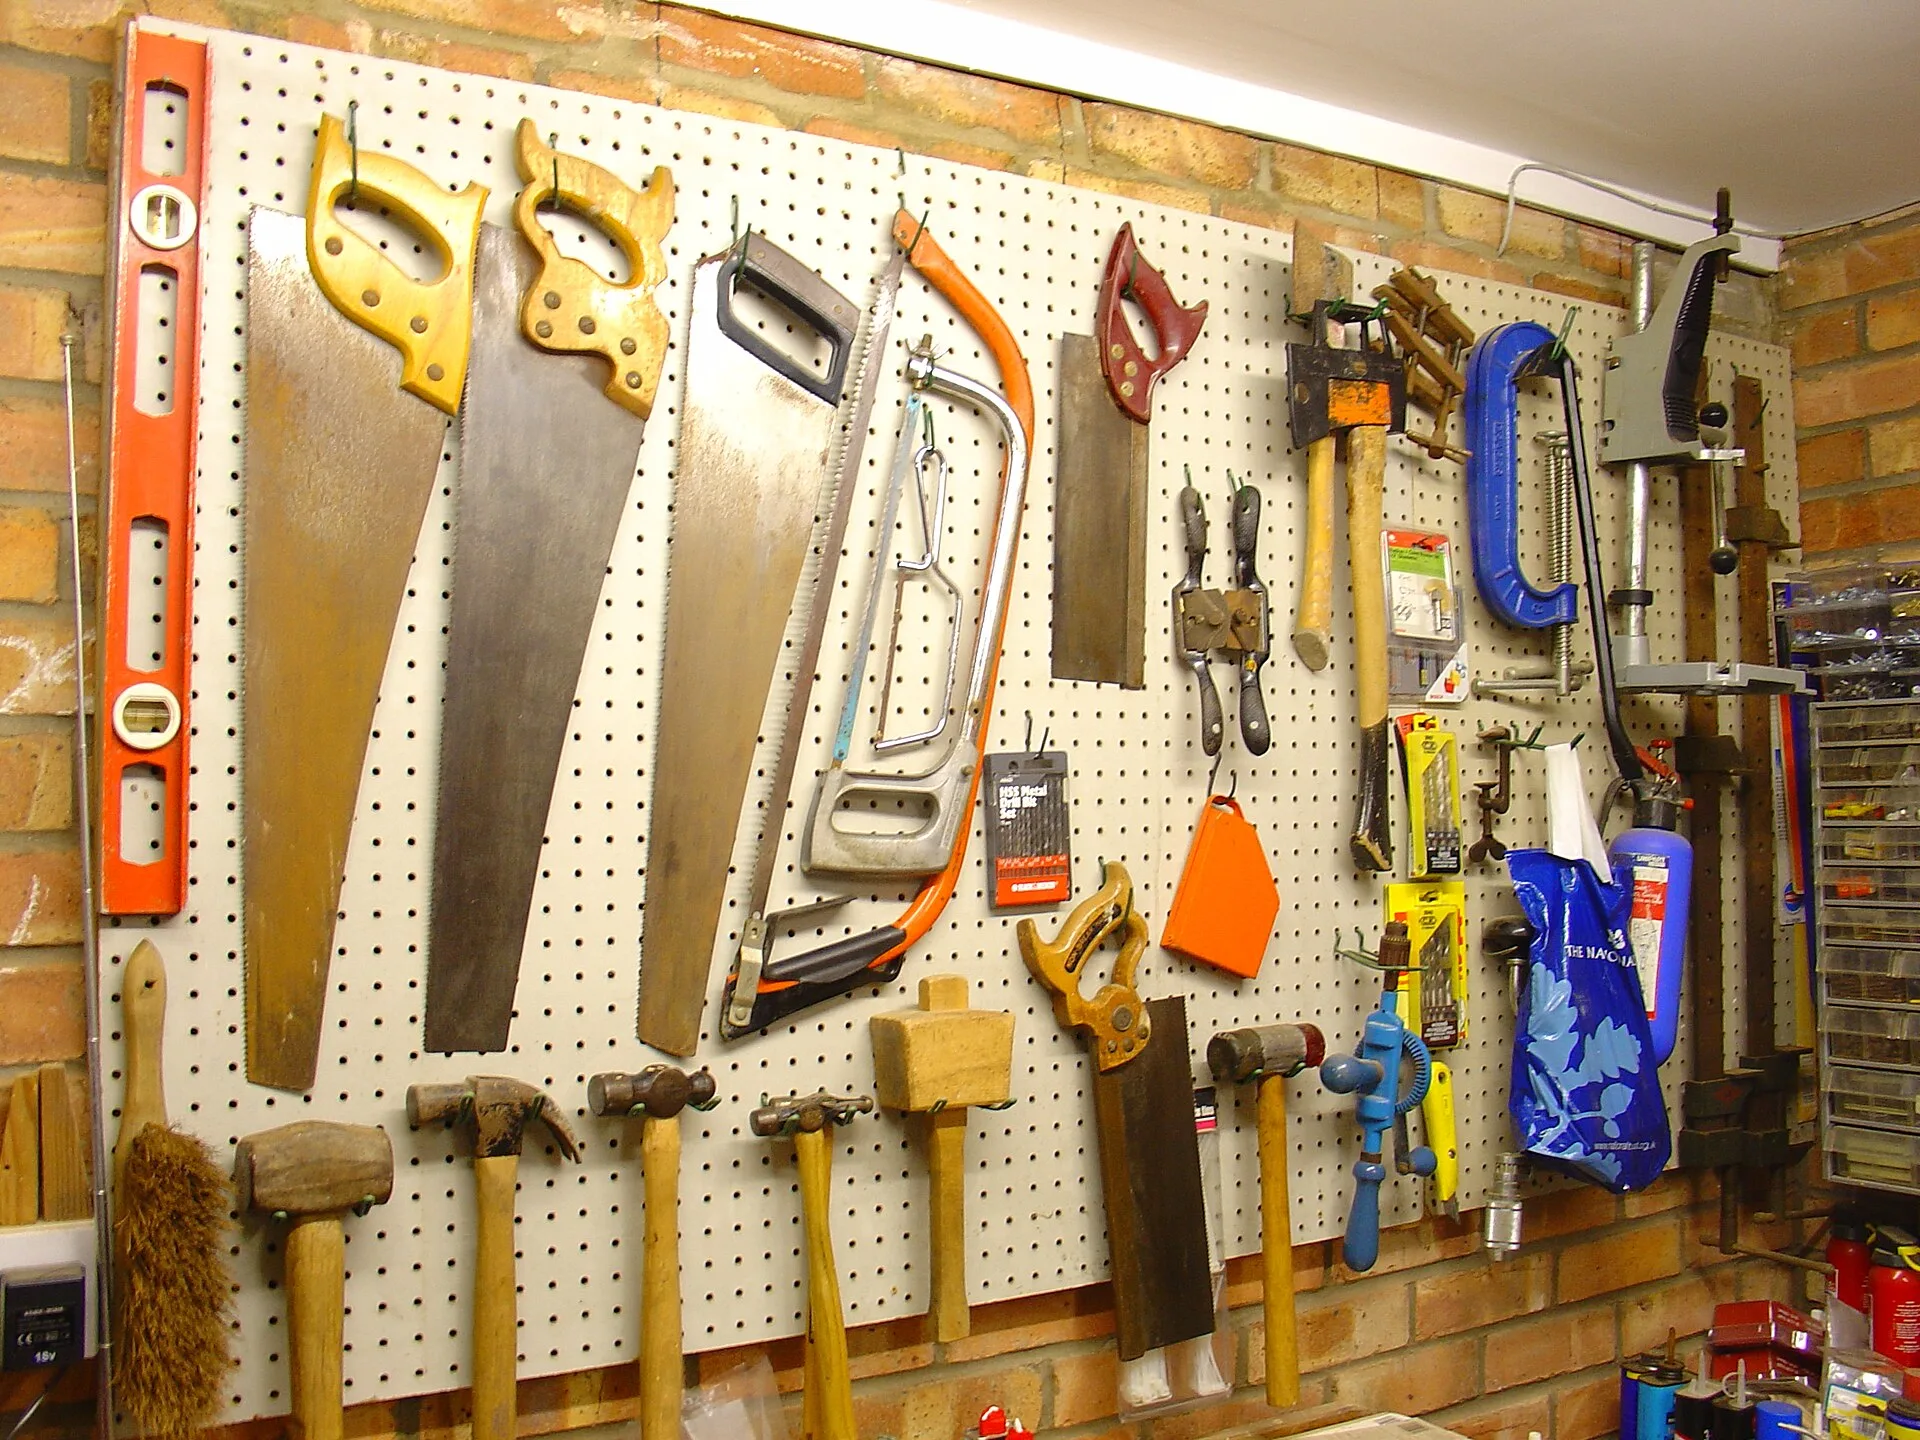
Stand where you actually stand, holding the camera or phone at chest height rather than over your head. A photograph taken from the doorway at eye level exaggerates floor space and hides the clutter behind the camera. Working-height shots along the bench show the reach, the clearance and the storage as they are used.
For a project, shoot three frames: the whole piece, the joint or detail that took the effort, and the piece in the place it will live. Those three carry almost all the useful information.
Do not photograph unsafe practice
This is the part that gets treated as a styling question and is not one. A picture of a table saw with the blade guard or riving knife removed, a grinder used without eye protection, a push stick left off the fence or a hand near a cutter teaches that behavior to everyone who sees it.
OSHA's machine guarding rule, 29 CFR 1910.212, and the agency's material on machine guarding hazard recognition describe the injury mechanisms at the point of operation and around moving parts. That is exactly what a staged photo tends to expose. The same applies to protective equipment.
Federal eye and face protection requirements, 29 CFR 1910.133, together with the ANSI Z87.1 standard for safety eyewear, set out where impact protection is expected, and a photograph of the work is a photograph of the practice. These rules govern workplaces rather than a private garage, but a published image reaches an audience that includes people at work.
Practical version: set up the shot with everything fitted and worn, take the picture, then work however your own judgment dictates.
Present the room honestly
Two labels make a shop post trustworthy. Say whether the room was tidied for the photograph, and say what is out of frame. A caption reading that the assembly floor is stacked with offcuts just outside the shot costs nothing and tells the reader what the layout really delivers.
Date your photographs and keep the empty-room shot from before you built anything. It becomes the most useful reference you own.
Our garage workshop ideas worth the effort, from light to fire cover covers the ideas worth photographing, and our guide to beginner garage projects, each built to teach exactly one skill covers work that photographs well because the detail is the point.